
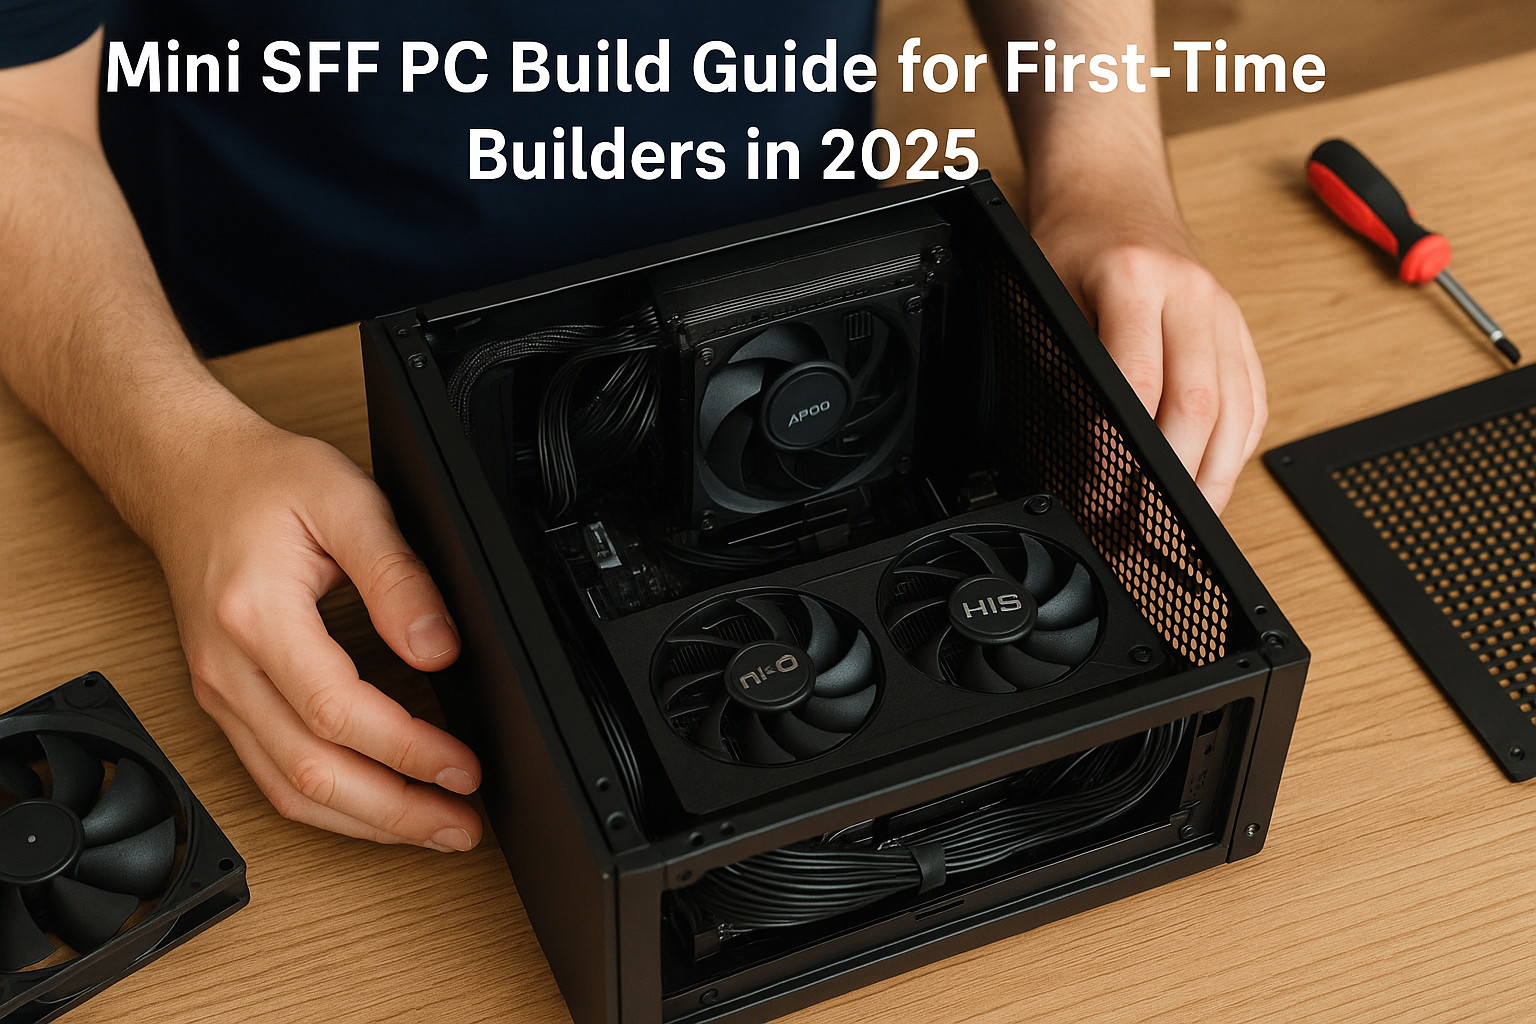
Building your first PC is an exciting journey, and opting for a Mini SFF (Small Form Factor) setup makes it even more rewarding.
These compact builds are space-efficient, portable, and aesthetically clean—perfect for anyone looking to save desk space without sacrificing performance.
Whether you’re a gamer, content creator, student, or remote worker, a Mini SFF build can deliver the performance of a full-sized tower in a much smaller package.
This guide is tailored for beginners in 2025. We’ll walk through everything you need to know—from choosing the right parts and tools to assembling your components, setting up your software, and avoiding common pitfalls. You’ll finish with a sleek, capable PC that you built yourself.
Why Choose a Mini SFF PC for Your First Build?
Mini SFF PCs are an excellent entry point for new builders. They teach you the importance of airflow, cable management, component compatibility, and thermal efficiency—skills that scale to any size of PC in the future.
Key Advantages
Compact size fits any desk or entertainment center
Modern cases make building easier than ever
Lower power consumption
More satisfying aesthetics with clean layouts
Portability for travel or LAN events
However, they also present unique challenges, which we’ll help you navigate step-by-step.
Step 1: Understanding Mini SFF Limitations and Planning Ahead
Before buying any parts, you need to understand the constraints of Mini SFF cases.
Size Matters
Mini SFF cases typically range from 7L to 20L in volume. The smaller the case, the more compact the layout—and the more planning you’ll need.
Thermal Constraints
Smaller cases trap heat more quickly. That means choosing efficient components and a solid cooling strategy is essential.
Component Clearance
Not all parts fit in all cases. Always check the maximum:
CPU cooler height
GPU length and width
PSU size (SFX or SFX-L)
Radiator/fan support
Your Build Goal
Gaming? Productivity? Both? Your goals will affect your component choices.
Step 2: Picking the Right Mini SFF Case
Start by choosing the case—this determines what other components will fit.
Beginner-Friendly Cases in 2025
Cooler Master NR200
Spacious layout for beginners
Supports ATX PSUs and large GPUs
Affordable and well-ventilated
Fractal Design Terra
Premium wood and aluminum design
Easy internal access
Great airflow and GPU support
SSUPD Meshroom S
Tool-free design
Tons of compatibility for high-end parts
Mesh panels for excellent cooling
Lian Li A4-H2O
Sleek console-style form factor
Supports 240mm AIO
Perfect for clean desk setups
Choose a case that has plenty of build guides available online—it makes your first time easier.
Step 3: Selecting Compatible Components
With your case chosen, you can now select components that fit your needs and match your case’s compatibility.
CPU (Processor)
For first-time builders, focus on modern CPUs with integrated graphics or low TDP.
AMD Ryzen 5 7600
Intel Core i5-14400F
AMD Ryzen 7 8700G (has great integrated GPU)
Choose a CPU based on your goals. If you’re gaming, pair it with a GPU. If you’re doing office tasks or casual gaming, integrated graphics may be enough.
Motherboard
You’ll need a Mini-ITX motherboard—these are compact and include essential features.
ASRock B650E-ITX – For AMD Ryzen
Gigabyte B760I AORUS Ultra – For Intel
ASUS ROG STRIX B760-I – High-end features for future upgrades
Ensure the BIOS is compatible with your CPU out of the box or get a board with BIOS flashback.
RAM (Memory)
Go with 16GB at a minimum. For gaming and productivity, 32GB is ideal.
DDR5 6000MHz – Faster and more efficient
Low-profile kits help avoid cooler clearance issues
Examples:
Corsair Vengeance DDR5
G.SKILL Ripjaws S5
Crucial DDR5 Budget Kits
Storage
For speed and silence, choose an NVMe SSD.
1TB NVMe SSD is the sweet spot
Brands like Samsung, WD, and Crucial offer great options
M.2 drives slot directly into your motherboard—no cables
GPU (Graphics Card)
If you want to play modern games, you’ll need a dedicated GPU.
NVIDIA RTX 4060 / 4070 – Great for 1080p/1440p gaming
AMD RX 7600 / 7800 XT – Budget-friendly and efficient
Intel Arc A750 – Affordable and capable
Check your case’s GPU clearance (length and thickness). Dual-fan GPUs are a safe bet.
PSU (Power Supply)
You’ll need an SFX or SFX-L power supply.
Corsair SF600/SF750 – Modular and beginner-friendly
be quiet! SFX-L 750W – Quiet and reliable
Seasonic SGX-650 – Efficient with hybrid fan modes
Modular PSUs are great for cable management in small cases.
CPU Cooler
Your cooler must fit within your case’s height limit.
Noctua NH-L12S – Low-profile and quiet
Thermalright AXP90-X53 – Great for compact builds
Arctic Liquid Freezer II 240 – AIO option for larger cases
Stick with air cooling unless your case specifically supports AIOs easily.
Step 4: Building Your Mini SFF PC
Once you’ve gathered all your parts, it’s time to build.
What You’ll Need
Philips screwdriver
Anti-static wristband (optional, but safe)
Your components
A clean, well-lit surface
Patience
Build Order Tips
- Install CPU and RAM onto motherboard first
- Mount M.2 SSD before placing motherboard into case
- Prepare PSU cables and route them early
- Install CPU cooler carefully—check for RAM and fan clearance
- Slide GPU into PCIe slot and secure with bracket
- Connect all cables (power, USB, front panel)
- Install case fans or connect AIO if applicable
- Double-check connections before powering on
Cable management is tricky in Mini SFF cases—take your time and use velcro straps.
Step 5: BIOS Setup and Windows Installation
When you first power on your system:
Enter BIOS by pressing DEL or F2 during boot
Enable XMP or EXPO for RAM performance
Ensure storage drives are detected
Set fan profiles to Quiet or Standard
Save and exit BIOS
Install Windows using a USB installer or opt for Linux if preferred. Update all drivers and motherboard firmware afterward.
Step 6: Monitor Temperatures and Performance
Download these tools:
HWInfo – Monitor CPU/GPU temps
MSI Afterburner – GPU fan curves and performance
FanControl – Customize fan speeds based on workload
CrystalDiskMark – Test SSD performance
A well-cooled Mini SFF PC should idle below 40°C and stay under 85°C under load.
Step 7: Install Essential Software
Steam or Epic Games launcher
Browser (Brave, Chrome, Firefox)
Office suite or productivity apps
Game launchers and drivers
Optional: OBS Studio for streaming or recording
Create system restore points regularly and back up your files.
Common First-Time Mistakes to Avoid
Not checking component clearance in your case
Using the wrong screws in M.2 SSD slots
Forgetting to plug in CPU power cable (8-pin)
Mounting the motherboard before installing the backplate or cooler
Not updating BIOS before installing the OS
Using too much or too little thermal paste
Not organizing cables, blocking airflow
Running fans at max speed constantly—adjust fan curves
Research each step and take your time—it’s worth it.
Tips for Long-Term Maintenance
Dust your case every few months with compressed air
Monitor fan performance and replace noisy units
Check thermals periodically
Keep software and firmware updated
Consider upgrading parts over time (GPU, RAM, storage)
Mini SFF builds are easy to maintain once properly configured.
Final Thoughts
Building your first Mini SFF PC in 2025 might seem intimidating, but it’s incredibly rewarding. You gain control over your system’s performance, design, and cost—plus the confidence that comes from learning by doing.
With the right planning, patience, and parts, you can assemble a compact powerhouse that fits your needs perfectly, whether that’s gaming, creating, or simply enjoying a cleaner, quieter workspace.
Once you’ve completed your build, you’ll realize the only thing more satisfying than a beautiful, compact PC—is knowing you built it yourself.

Chris Dalton is a tech enthusiast with a passion for helping others build high-performance PCs on a budget. He shares practical advice, in-depth guides, and honest insights to empower freelancers, gamers, and creators to get the most out of their hardware. With hands-on experience and a focus on smart, affordable solutions, Carlos Eduardo turns complex tech into accessible knowledge for all.